

Merriam-Webster defines a corona as a white or colored circle or set of concentric circles of light seen around a luminous body. This pattern is more than aptly named.
The Corona Caddis a relatively impressionistic and easy pattern to tie. The most unique part of the fly is the abdomen. I have placed an extremely fine Antron material (Halo Dubbing) into Sparkle Emerger Yarn, formed a noodle, and wrapped a segmented body. The Halo Dubbing is intended to simulate the air bubble surrounding the abdomen during emergence. Of course, I am all about the shaggy look, too. There's something about a scruffy fly- it fishes so much better! Swap out the body color to match your naturals and you'll be in business. I would almost bet the farm this fly will become a favorite of yours, too!
Materials:
Hook: Daiici 1120 (or any curved nypmh hook), Size 10-18
Bead: Choice (3.2MM Brite Bead pictured)
Thread: 6/0, color to match body
Body: Sparkle Emerger Yarn (cream color pictured) and Halo Dubbing, White
Antenna: Bronze mallard
Head: Blended Arizona Simi Seal (Yukon Brown), STS Triobal (Tan), Ice Dubbing (Olive Brown) and Ice Dubbing (Peacock Black)
Step 1:
Prep hook (bead and/or pinch barb). Secure in vise. Start tying thread behind bead and wrap approximately 1/3 back.

Step 2:
Select a strand of Sparkle Emerger Yarn approximately one fifth of a pencil diameter and 6-inches long (cut near the zip tie). Cut end cleanly and secure with very tight wraps of thread with the yarn at the 10 o'clock position facing you. The stopping point is a little further down the bend (as pictured). Return to the tie in point.

Step 2A:
Ensure there are no knots in yarn. You may run a fine toothed comb through the material. Pull yarn straight down and check thread wraps. The yarn should flatten out. Continue with downward tension and place a very small amount of Halo Dubbing into the yarn (similar to the split thread method.) with your thumb and pinch with index finger. (Easier than it sounds.) Repeat possess until you have approximately 3-inches of Halo Dubbing embedded in the yarn.

Step 2B:
Firmly pull yarn downward and twist counter-clockwise to form a noodle. (Lefties... you will twist the yarn clockwise.) The Halo Dubbing should protrude at 90-degree angles from the yarn.
Step 2C:
The noodle should be very tight to the hook and want to start double over on itself.
The first turn is the most important- make it tight to the hook. It should not slip around the shank. Keep tension and ensure noodle remains tight with each turn forward. Your body should look similar to the picture. No need to worry about aesthetics. We'll be brushing the whole fly shortly.
Step 3:
Dub custom blend slightly larger diameter than the body. (The diameter will decrease once we brush the head out.) Do not crowd the bead. It is hard to see in the below, but there is a very small gap between the head and bead.

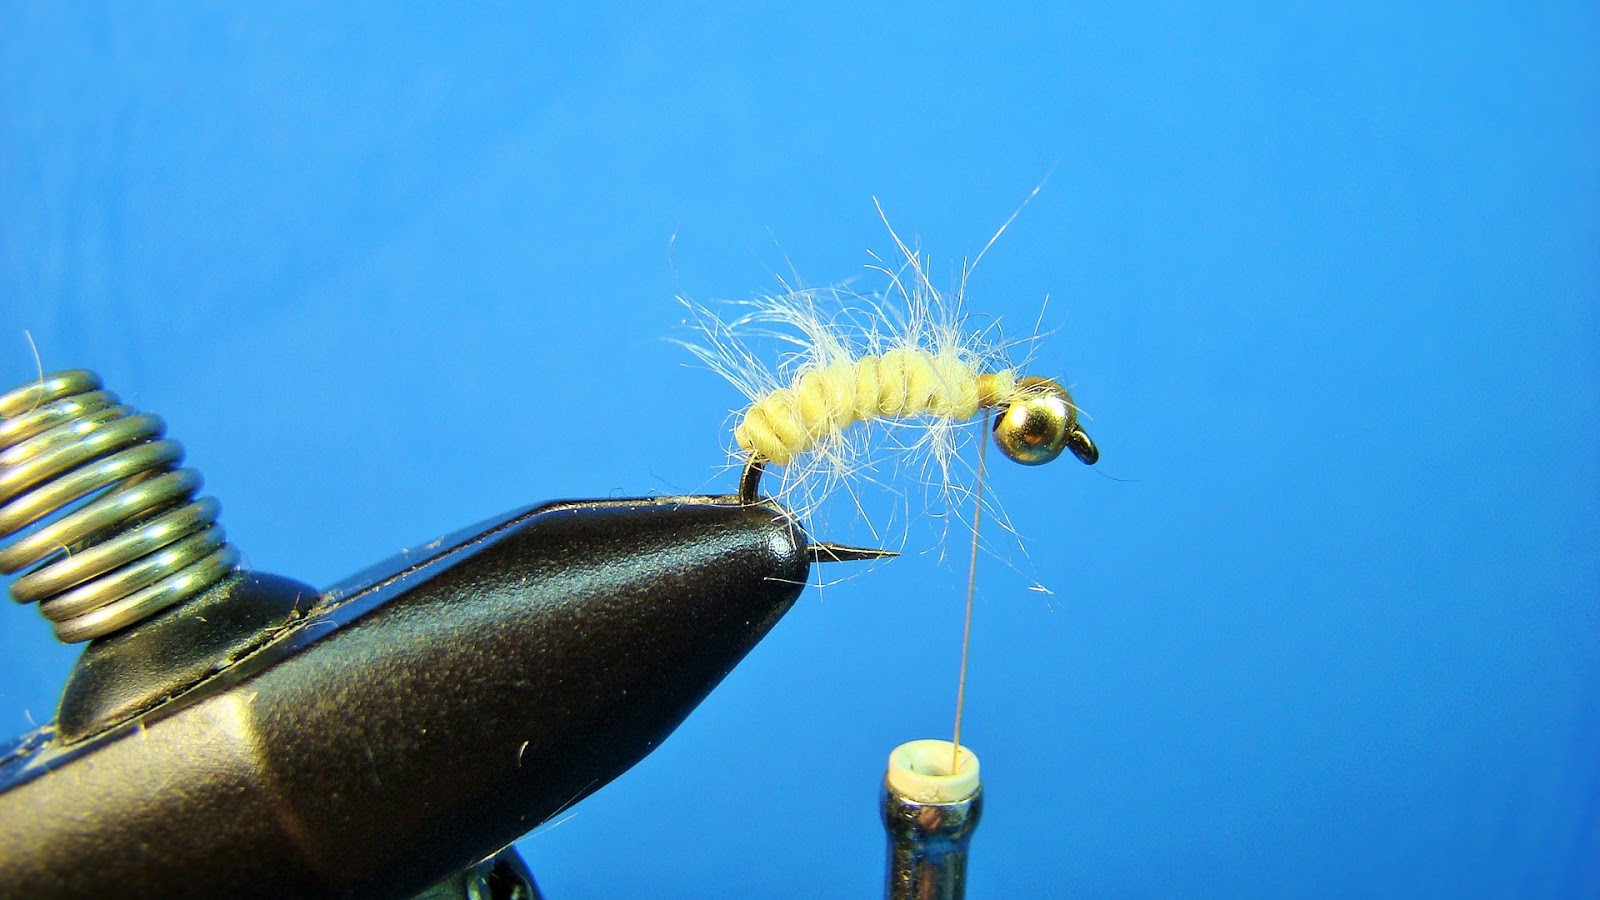
Step 3A:
Tie in two fibers of bronze mallard for the antennas.

Step 3B
Hold antenna down with index finger and apply a little (very litle) more dubbing over the head to hold antenna in place and fill the gap behind the bead. Whip finish.

Step 4:
Pick out or brush dubbing, more so to the underside, creating a shaggy appearance. THIS FLY WILL CATCH FISH!


Questions or comments are welcome below.
Enjoy!
No comments:
Post a Comment