If you have ever wondered how to tie a sharp looking caddis larvae...
Time consuming, but well with the effort!
Enjoy!

Monday, September 28, 2015
Sunday, September 27, 2015
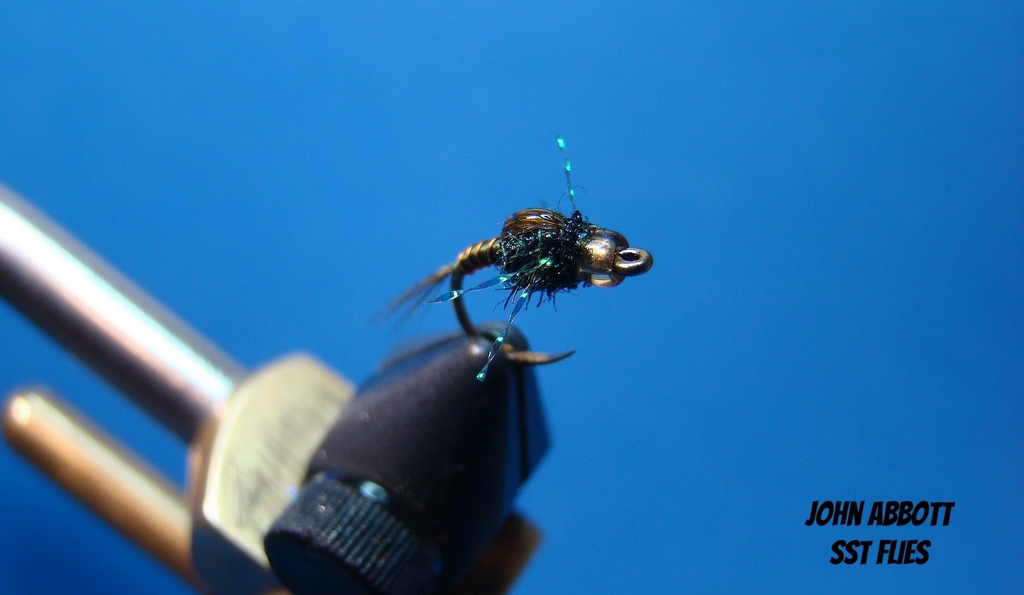
Oliver Edwards Czech Nymphing (Video)
Although is it a long video there is a lot of great information!
Enjoy!
Enjoy!
Saturday, September 26, 2015
Gray Hackle Peacock

The Gray Hackle Peacock easily falls into my "top 25 flies." I will typically fish it as a dropper working my way upstream or by itself across and down. In lakes or tail waters, a tailless version works wonders where snails are high on the menu.
This fly comes with a long and proud history. The earliest writings call for red silk (thread) peacock and speckled hackle or grizzly (circa 1670's). Unfortunately I am unable to pinpoint the time when the red tail and gold tag where added.
Materials:
Hook: Daiichi 1530 (or any nymph hook), sizes 8-16
Thread: Black (pictured is Veevus 14/0)
Tag: Lagartun, narrow flat gold
Tail: Red hackle fibers
Body: Peacock herl
Hackle: Grizzly hen hackle
Step 1:
Pinch barb in vise and secure. Start thread behind eye and wrap to the hook point.

Step 2:
Tie in gold tinsel with a long forward tag. Make two rearward turns and two turns forward.

Step 2a:
Wrap tinsel rearward in close turns without overlapping and return. Once the tinsel is brought back to the tie in point, unwind thread, take an additional turn of tinsel forward and secure with rearward thread turns. The ends of the tinsel should be near the top of the shank and pictured. Do not cut tinsel.

Step 2b:
By applying a little pressure to the bobbin the tinsel can be wiggled back and forth. It will break cleanly.

Step 3:
Select a few red hackle fibers and secure to the top of the hook shank. Keep the tail thin.

Step 4:
Select two peacock herls from below the eye. Cut away approximately an inch from the tips, Tie in along the near side of the hook shank back to the tag.

Step 4a:
Gently pull down peacock herl and parallel thread. Twist thread and herl to form a rope. Wrap forward stopping at the thread starting point in step 1. See Black Prince.

Step 5:
Tie in hen hackle by the bottom part of the stem.

Step 5a:
Take one or two turns of hackle. Secure and whip finish. Apply two coats of head cement.

Tight lines!
Friday, September 25, 2015
Black Prince (Black Forked Tail Nymph)

Gold Ribbed Hares Ear, Pheasant Tail Nymph, Prince Nymph and soft hackle flies, et al, have lasted the "test of time," but there are so many other great patterns that don't come close to receiving the recognition the aforementioned receive. Why?
One searching pattern I use quite often as a dropper is the Black Prince (or the Black Forked Tail Nymph) popularized by the late Doug Prince.
Materials:
Hook: Daiichi 1260 (or any 2X long nymph hook), sizes 8-16, weight to suit
Thread: Black (10/0 Veevus utilized for this blog)
Tail: Black goose biots
Ribbing: Flat silver (narrow Lagartun pictured)
Body: Ostrich herl
Hackle: Hen hackle, black (pictured is rabbit guard hairs)
Step 1:
Pinch barb and secure hook in vise. Start thread one eye length behind the eye and wind rearward to position pictured.

Step 2:
Select two black goose biots, align tips with tips curved away from one another and tie in along each side of the shank This will give you the forked tail appearance. Length of tail is approximately one gap length, but I prefer the tail a little longer.

Step 3:
Tie in tinsel to opposite side of hook shank.

Step 4:
Select two or three ostrich herls from stem. Cut away 1-inch or more from the tips. Tie in tips and draw the herl straight down and parallel with thread.

Step 4a:
Twist herl and thread together forming a chenille-like appearance. I use a mascara brush to brush along the stem to remove any trapped fibers. This also stands the fibers out 90-degrees from the stem.

Step 4b:
Wind herl forward in close tight wraps and secure. Leave yourself plenty of room aft of the eye. I would recommend dampening fingers and draw the fibers rearward as you are wrapping forward.

Step 5:
Wrap tinsel forward in 5 even turns.

Step 6:
The original called for two or three wraps of black hen hackle.
I utilized rabbit guard hair to form a collar. Simply cut a small bunch of hair from skin keeping the tips of the guard firmly pinched between fingers. Comb or pull under fur out until the majority of the hairs are guard hairs. Split the thread with bodkin and insert rabbit. You should have a little more than an inch of rabbit in the thread (two to three wraps)

Step 6a:
Twist/Spin thread until guard hair stand out at 90-degrees.

Step 6b.
Wrap to form hackle/collar.

Step 7:
Select two white goose biots. Form a "V" shape with the tips curving up and tie in with a couple of softer wraps of threads. You can maneuver the biots, if needed. When satisfied with the position of the biots, slowly tighten/secure by lifted the bobbin straight up. Complete wraps, whip finish, and apply head cement.


Tight lines!
Thursday, September 24, 2015
Olive Killer (Variant)

I found this pattern surfing some of the different video venues on the internet at work this afternoon. Not sure who the originator is, but this pattern sure looks to be promising anywhere BWO's are present. With so many shades of olive colored thread you are bound to find a close match to the natural in your area. I've tied this pattern larger for the aesthetics of the SBS, but I normally tie and use sizes 16 nd 18.
Some of the changes I made were tying in olive colored mallard flank vice dyed wood duck, adding a dark copper wire ribbing in place of gold, and Midge Flash in peacock color for the legs instead of the thicker pearl Krystal Flash.
Materials:
Hook: TMC 2499SPBL (or any curved nymph hook), sizes 10-20 (size 14 pictured)
Bead: Choice (Pictured 11/0 amber with silver lining) (15/0 for sizes 16 and 18)
Thread: Olive green UTC 70
Tail: Dyed olive mallard flank
Ribbing: Fine dark copper wire
Body: Thread
Wing Case: Dyed olive mallard flank
Thorax: Ice Dubbing olive and black peacock mixed
Leg: Midge Flash, peacock
Step 1:
Prep hook by adding bead. Secure in vise. Start thread behind bead and take a few wraps.

Step 2:
Select 12 to 15 dyed mallard flank fibers, align tips and remove from stem. Tie in to the top of the hook. Adjust length to approximately one hook gap length or a little longer.

Step 2a:
Cut away the shorter fibers (if any) or a few additional fibers to thin tail. This also helps with tapering the body.

Step 2b:
With flat, even wraps of thread wind rearward to the position shown and return thread to thorax area.

Step 3:
Tie in ribbing to the far side of the hook shank. Secure with flat, even wraps of thread rearward to the tail and return forward to thorax area- ideally building a taper in the process.

Step 4:
Make even segmented wraps forward with copper wire.

Step 5:
Pull wing case over the thorax area and secure with tight thread wraps. Stopping position is just behind the hook point.

Step 6:
Dub an over-sized thorax. Pull wing case over the thorax and secure with a few thight wraps. Remove butt ends.

Step 7:
Select one strand of Midge Flash and double it over. Cut ends to an overall length of approximately 2 1/2 inches. Secure with cross wraps (figure 8 wraps) of thread to top of the hook shank

Step 8:
Place a small drop of UV resin (preferably a thick formula) to the top of the wing case.

Step 9:
Apply a very small amount of dubbing in front of legs. Whip finish. Pull legs back alongside body and clip to length- about mid way from thorax to the end of the body.

Tight lines!
Wednesday, September 23, 2015
Higa's SOS

Spencer Higa's SOS (Save Our Skin) has been one the hotter flies to hit the streams within the last 5 or so years. I would recommend tying them from size 8 for larger mayflies all the way down to 24 to cover midges.
I have slightly deviated from the original by using SLF Enhancer for the thorax vice rabbit, utilized Veevus Iris thread (peacock) vice black Krystal Flash for the legs and replaced a gold bead with a clear glass bead with a metallic silver lining.
The ribbing can be either silver or gold, but silver seems to draw more fish. I don't believe the original was tied with legs, but they sure seem to be more popular with anglers.
This is an easy tie... Stock the box!
Materials:
Hook: Daiichi 1120 (or any curved nymph hook), sizes 8 to 24
Bead: Choice
Thread: Black (pictured is 10/0 Veevus)
Tail: Black hackle fiber
Rib: Silver, round
Body: Thread
Wingcase: Red floss
Thorax: SLF Enhancer, black
Legs: Veevus Iris thread,
Step 1:
Prep hook by inching barb and adding bead. Secure in vice. Start thread behind the bead and wind rearward stopping just before hook point.

Step 2:
Tie approximately 10 black hackle fibers to the top of the fly. Wind even, flat wraps fairly deep in to the bend of the hook and return thread to the thorax area. Remove butt ends. The length of tail is approximately one hook gap, but I occasionally tie the tail a little longer.

Step 3:
Tie in silver wire to the far side of the hook and make flat, even wraps to the tail and return to the thorax region. Make segmented wraps of silver wire to form the ribbing. Secure behind the bead.

Step 4:
Tie in a piece of red floss to the top of the hook stopping just behind the hook point as shown. Ensure the floss rests flat.

Step 5:
Dub a thorax slightly thicker in diameter than normal.

Step 6:
Pull floss wing case over the thorax. Ensure the floss has remained wide and flattened. Secure and remove tag end.

Step 7:
Cut approximately 2-inches of Iris thread and unravel both ends. You should notice two pieces of metallic flash material and about a half dozen of fine nylon fibers. Remove one strand of the flash material and tie in cluster with cross wraps.

Apply a tiny bit more dubbing in front of the legs and whip finish.


Tight lines!
Tuesday, September 22, 2015
Olive Oyl

Skinny from the head to toe—just like the cartoon character—that's Olive Oyl. Even Popeye loves this fly!
There's a lot to love about this fly. The tail possesses a nice iridescence that matches the Ice Dubbing, a skinny body has been over wrapped with a translucent material, The UV wing is a wonderful trigger/target for fish to home in on and a bead to get down fast!
Materials:
Hook: Daiichi 1120 (or any curved nymph hook), sizes 12-20
Bead: Choice
Thread: UTC 70, olive
Tail: Iridescent green peacock breast feather fibers
Ribbing: Very fine round gold
Body: Thread over wrapped with olive Frostbite
Wing: Troutmen Flashy Fiber, ice blue
Thorax: Ice Dubbing, black peacock
Step 1:
Pinch barb. Place bead on hook and secure in vise. Start thread behind bead and wind to stopping point pictured.

Step 2:
Tie in ribbing and secure with evening wraps to the position pictured.

Step 3:
Select 3 to 5 iridescent peacock breast feather fibers and tie in. Wind forward with flat wraps of thread. Tail length is approximately one hook gap. Remove butt ends.

Step 4:
Tie in two strands of Frostbite,

Step 4A:
Make even wraps to the tail and then back to the behind the bead. This will give the body a shiny appearance.

Step 5:
Wind ribbing forward in even segmented wraps to behind the bead.

Step 6:
Tie in a single strand of Flashy Fiber as pictured. Note the position of thread in the above step. It is located directly behind the bead. Thread should be at the end of the thorax after tying in.

Bring forward strand back over the body and secure. Cut strands even with the end of the body:

Step 7:
Dub a thorax of Ice Dubbing. Whip finish. Just add water..

Enjoy!
Subscribe to:
Comments (Atom)