

A GRHE Filoplume Prince? As you might have already guessed this pattern is a combination of the Gold Ribbed Hare's Ear and the Prince Nymph with the addition of filoplume added for a thorax. It is suggestive of many aquatic insects - depending on color and how it is tied (thick or thin) - mainly stoneflies. Try substituting the goose biots with round rubber hackle. I have even had good success with replacing the tail with a tuft of marabou and fishing it in lakes to imitate dragon fly and damsel nymphs. Don't forget to add a bead head! Black, brown, tan, olive, and amber are colors that definitely find their way in to my fly box! The only attribute that remains the same is the white goose biots.
What possessed me to tie this fly? I have no idea. I faintly remember the night... A small group of us headed to the Sacramento River (above Lake Shasta) for the 1994 re-opener after the huge pesticide spill which gained national recognition. We set up camp at Sims Flat and began tying flies under the light of two lanterns on a picnic table and influence of a couple of Crown Royals. The rest is history... Although I had several imitations of golden stones available at my disposal this new fly was a hit. It continues to produce when other patterns fail.
Materials
Hook: Daiichi 1260 or TMC 200R (sizes 6 - 16) (weight to suit)
Weight: Choice
Thread: 6/0. Color to match body.
Tail: Goose or turkey biots. Color to match body.
Body: Hare's ear. Color of choice.
Ribbing: X-small Lagartun oval gold tinsel (Copper wire if tied in olive)
Back: Large opal Mirage tinsel.
Thorax: Ringneck pheasant filoplume feather. Color to match body.
Beard: Hackle to match body color.
Wings: White goose or turkey biots.
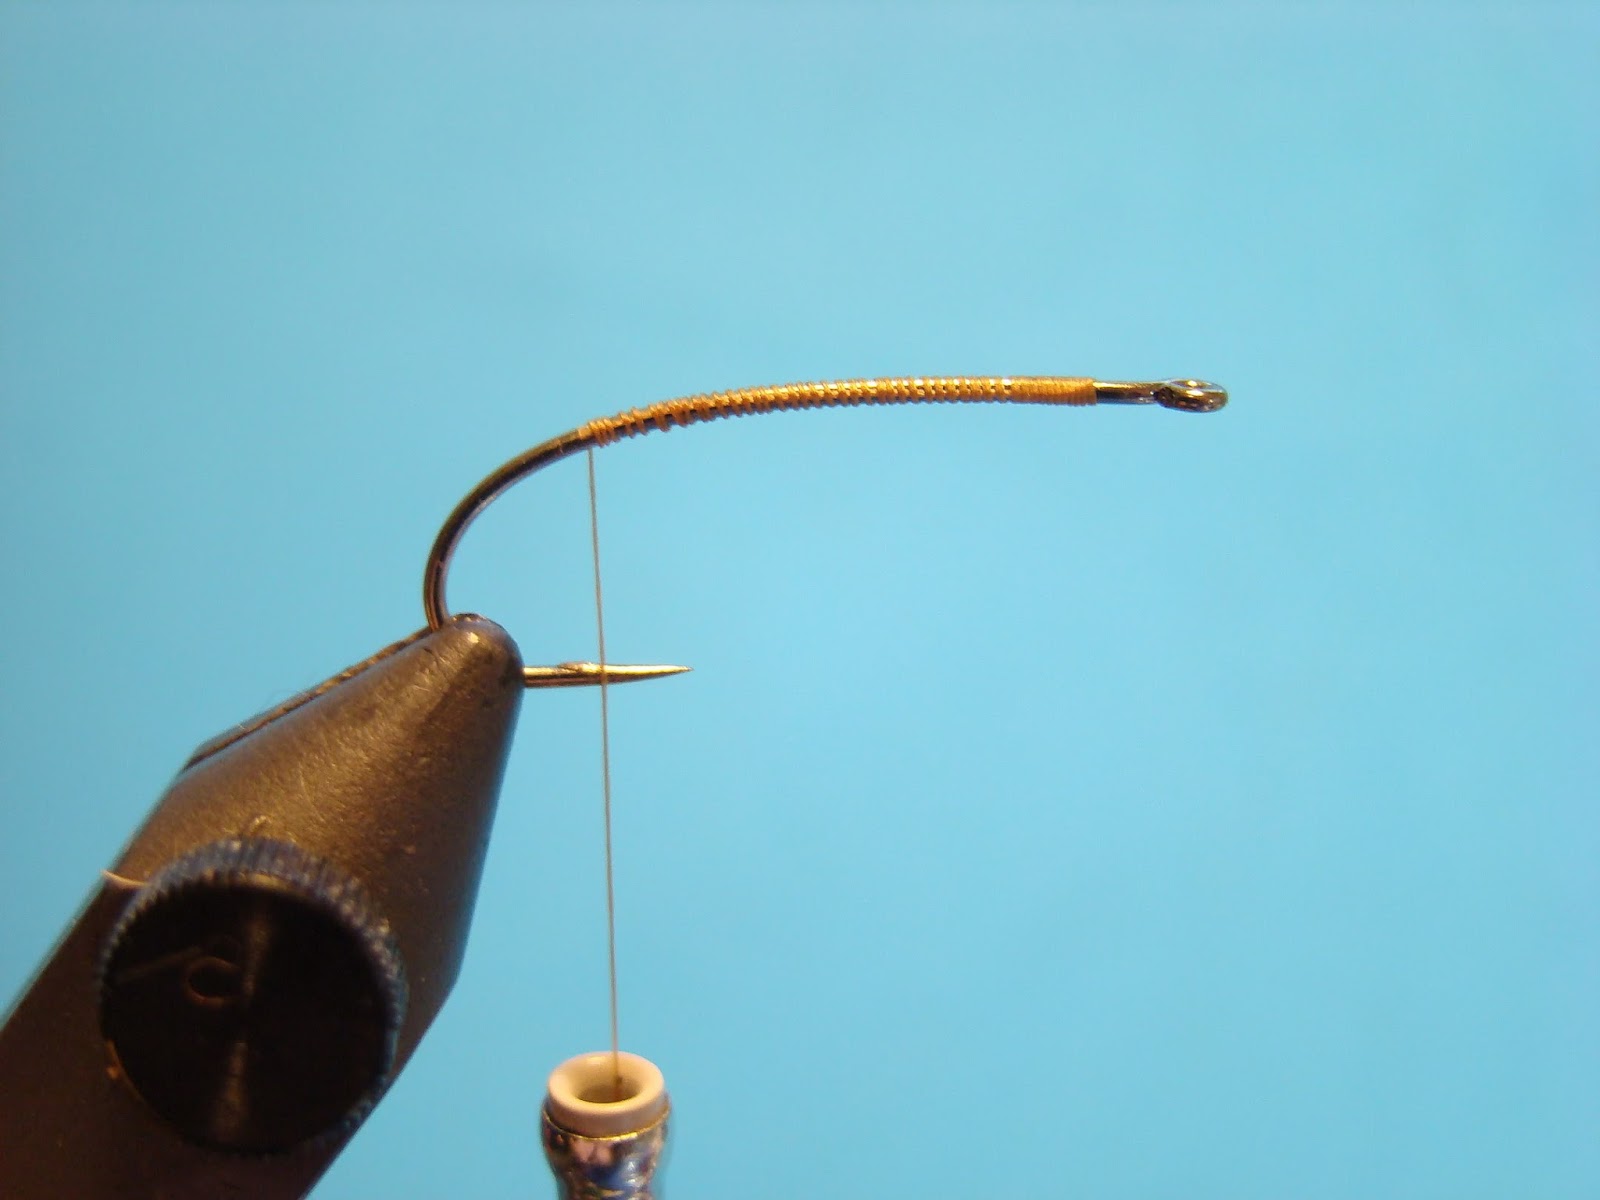
Step 1:
Flatten barb. Start thread approximately one eye length behind the eye and wind to rear of hook. Stopping point is approximately above the barb.
Step 2:
Dub a small ball of hare's ear. The ball will help with the "fork" (or "V") effect of the goose biots.

Step 3:
Tie in goose biots. The length of the biots is a personal choice. I prefer approximately one hook gap width.

Step 4:
Tie in oval gold tinsel.

Step 5:
Tie in Mirage tinsel. Ensure it is tied directly down the center of the hook.

Step 6:
Heavily wax thread. Lightly apply/twist hare's ear on to thread as pictured. Even though the hare's ear has been lightly applied and twisted the hairs will trapped against the hook shank creating a nice shaggy body. This is a neat little time saving dubbing trick... you'll see how.

Step 7:
Wind hare's ear just past the mid way point. You should have approximately 40-percent of the shank exposed. Note the shaggy appearance of the body at this point.

Use you thumb and forefinger to pull the hare's ear down below the shank. This will remove the hairs that didn't get trapped and give you a nice buggy appearance without having to pick out the hairs. Great time saver!

Step 8:
Bring the Mirage tinsel over the back and secure with two light wraps of thread. This will enable you to maneuver the tinsels as you wind the tinsel.

Step 9:
Wind the rib forward.

Step 10:
Select two filoplume feathers from a ringneck pheasant. The rump section will have the best filoplumes. They are found directly behind the main feather.

Tie in the two filoplumes by the bottom portion of the stem. Form a dubbing loop and place filoplume feathers in the loop and spin until a chenille-like dubbing brush is formed. Be careful not to over-spin the filoplume. It is a fragile tying material.

Moisten the fibers once secured and stroke rearward.

Step 11:
Tie in a beard of brown hackle. Pictures is dyed brown partridge. Another option is wrapping partridge (or other feather) a turn or two. I prefer tying a beard- saves time and bulk in the head area. The length of the beard was tied in just past the hook point.

Step 12:
Most pattern books will instruction to tie and show the tips of the biots facing upwards on a Prince Nymph. Personally, I feel it is easier to tie the biots on to the hook with the points facing down due to the natural concave curvature of the biots.
The biots can be tied on one at a time or together. The beginning tyer will find it easier to tie them separately. The important thing on tying the biots to finish the fly is the "V" shape and the length. The length is typically to the end of the body as pictured.
When tying in the biots one little trick to use is taking a couple of soft wraps of thread over the biots and then positioning the biots. Once the biots are in position, slowly tighten the thread and complete the finishing wraps. Head cement and you're finished.


Enjoy!
Great looking fly. When your tying it for lakes to use for dragon fly or damsel fly do you still sue a bead head?
ReplyDeleteFor lakes or slower waters I would still recommend adding a bead. The extra action has proved to be deadly. The only exception would be shallower water or flats. Enjoy!
ReplyDelete