The little gem of a 4.3 mile tailwater I fish is only 70-miles north of San Francisco and a fairly quick drive from Sacramento. If you can imagine the angling pressure sometimes.... (Thankfully, I can sleep in a little bit and still beat the crowd from these locations!) Although angling pressure has it's days there's been times where I was with less an a handful of anglers on the water. However, this water can frequently be highly technical and one better bring their "A game." Additionally, the fish have seen every Pheasant Tail Nymph, Hares Ear, etc. Believe me!
The wild fish grow rather quickly here. It is not to uncommon to see a one year fish at 8 to 11 inches with faint parr markings! While there is a plethora of feed to dine upon midges are a daily staple for many of the fish. And quite a few anglers join the 20-20 Club on this creek. (The 20-20 Club is fictitious charter club, but anyone can join by catching a 20-plus inch trout on a fly size 20 and smaller.)
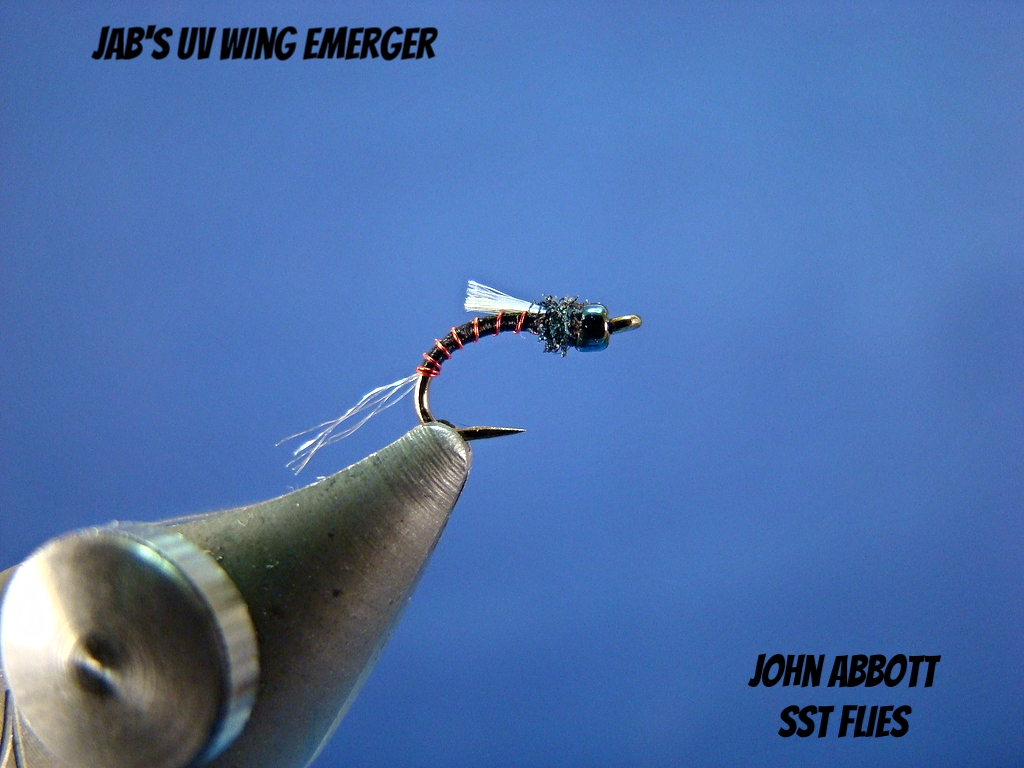
Tying a fly with a trigger feature, i.e., hot butt, bead head, hot thorax, shuck, etc., is nothing new. However, I rarely see anglers utilizing ultra violet (UV) as winging material in their emerger patterns- especially midges. I am particularly fond of UV wings in slightly murky and/or faster moving water. Remember, fish may only have a fraction of time to intercept your presentation and having some kind of "pop" on a very small offering might be the key. In lakes requiring deep presentations of midge patterns the UV wing definitely stands out in the depths!
Sybai Tackle from the Czech Republic manufactures a host of colors in their pearl braid. Interesting enough, among these colors, are two different shades of UV. One shade is what most tiers are accustom to. It has a pearl appearance, but emits the purplish color at the right light angle. The other shade looks like a medium to dark gray with a darker purple effect.
Seventy-five percent of the flies I tie with this material use the standard pearl UV. I find early mornings, late evenings, darker days, cloud cover or fast water prime time with this shade. On very bright days or crystal clear water the gray UV is far better.
Let's tie my Trigger Wing Emerger. It is a very simply fly, but the key is keeping it thin on materials. You'll also note that I am utilizing a very small 18/0 bead. These are not available at any fly shop that I know of. However, eBay list several beads and sizes at a fraction of the cost. In fact, one 10-gram bag of 15/0 or 18/0 beads are five lifetimes worth!
Materials
Hook: TMC 2488 (Sizes 16-22) or similar
Bead: 18/0 Pearl glass
Body: 12/0 Benecchi, Dark Olive (Black, tan, dun olive, cream are alternatives)
Ribbing: Hends Super Fine Micron .04mm, stainless steel
Wing: Sybai Pearl Braidback, Ultra Violet (light) or Dark Ultra Violet
Thorax: Super Fine, Black
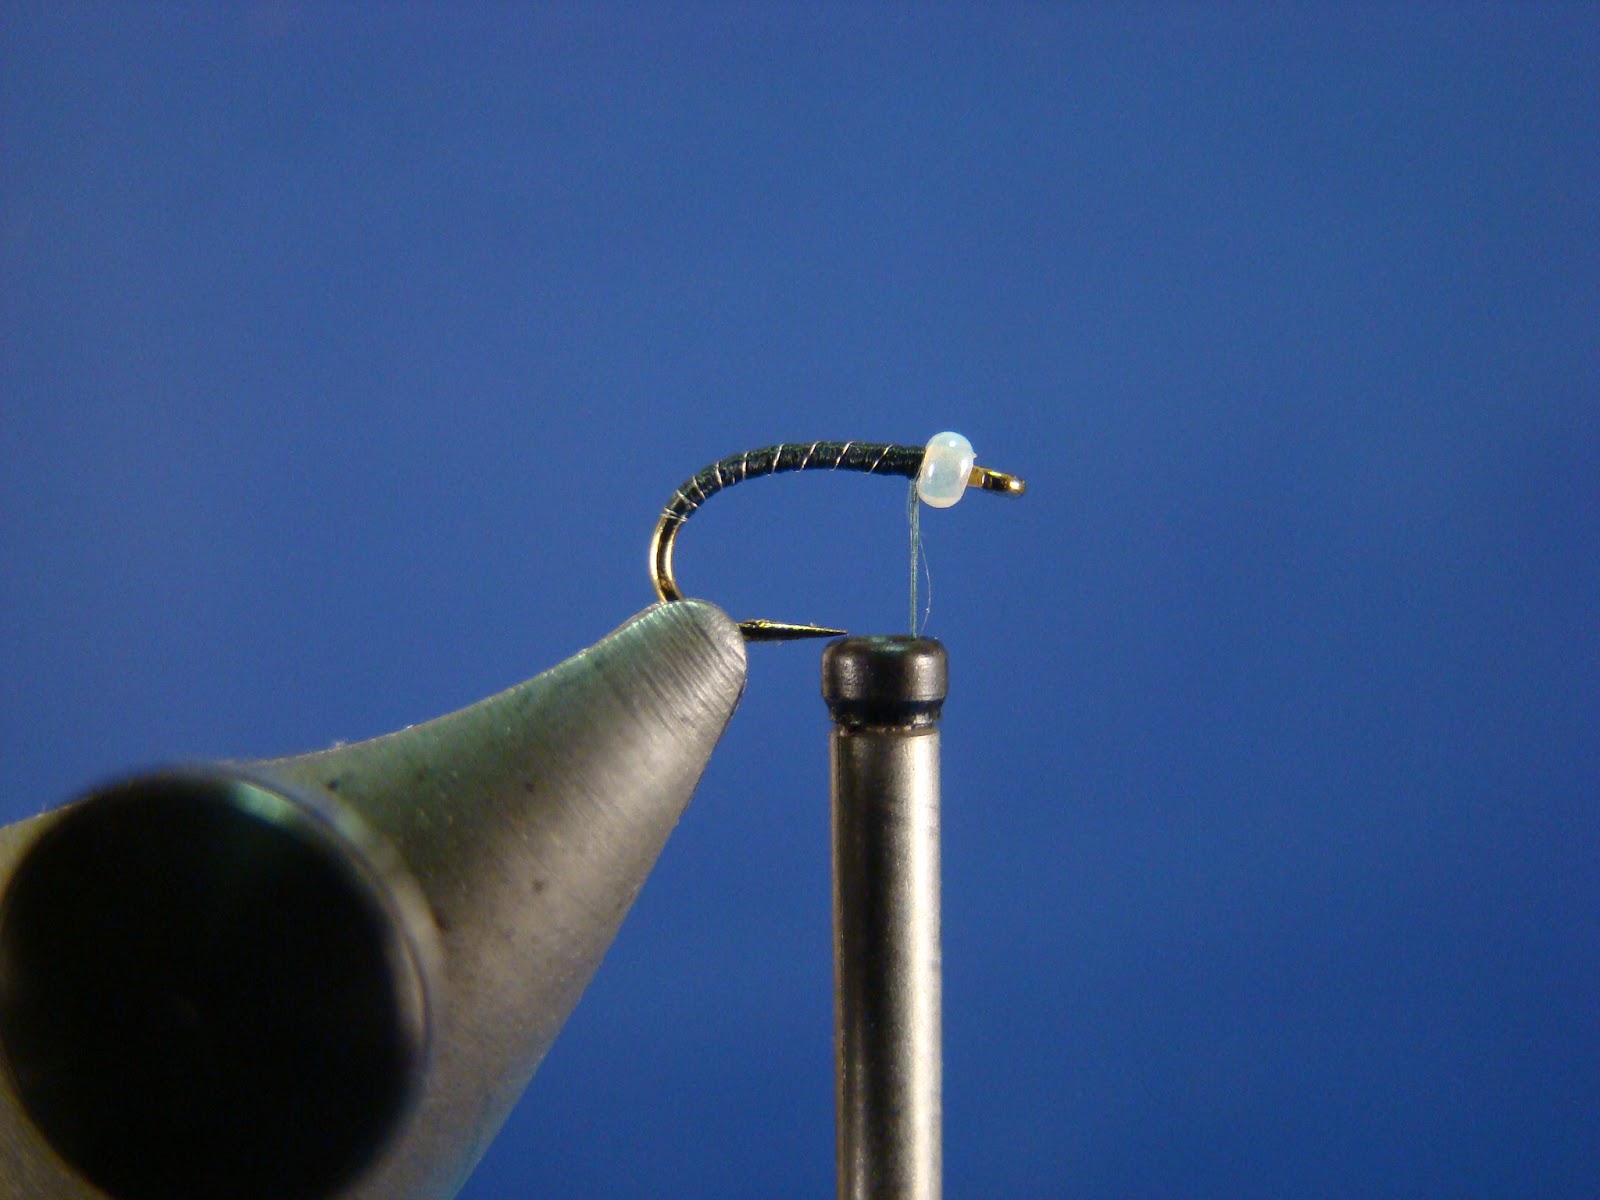
Step 1:
Flatten barb with vise jaws. Place 18/0 bead on hook and secure in vise. Start immediately behind bead and take four or five starting wraps. Remove tag end.
Step 2:
Remove 3 or 4 inches of Micron from spool. Secure ribbing without taking one wrap of thread. Simply bring the material under the hook slightly touching the thread the move up and away from you. Both hands should be on the far side of the vise. Now lift straight up. he ribbing should be under the last turn of thread. Repeat this process once or twice. Ensure ribbing is parallel with hook shank.
Step 3:
Wind thread rearward well into the bend of the hook. Ensure thread wraps lay flat Despite the thread being of small diameter it will flatten. Once thread has been wrapped to the approximate spot (see picture) return thread to the bead. Reminder: keep the thread flat.
Step 4:
The first two turns of ribbing are wound behind the thread body. This ensure the thread doesn't slip down the hook bend. The next two turns of ribbing are close and then opened in distance to the bead area (as pictured).
Step 5:
Cut 2-inches of Pearl Braid. Use bodkin to separate strands. Remove 2-strands and place on top of hook shank (as pictured).
Step 5A:
Once tightly secure (Step 5) bring the forward strands back over the body and secure with a wrap tight wraps. The wings should lay nearly flat of the body. Clip wings to approximately 3/4 body length.
Step 6:
Dub a very small thorax of Super Fine and whip finish.
Enjoy!